
The Card Prompt settings allow you to customize the text and visual cue that appears on your tap screens when a customer is prompted to tap their RFID card or wristband.
This helps improve guest clarity, reduce confusion, and better match your venue’s branding or tone.
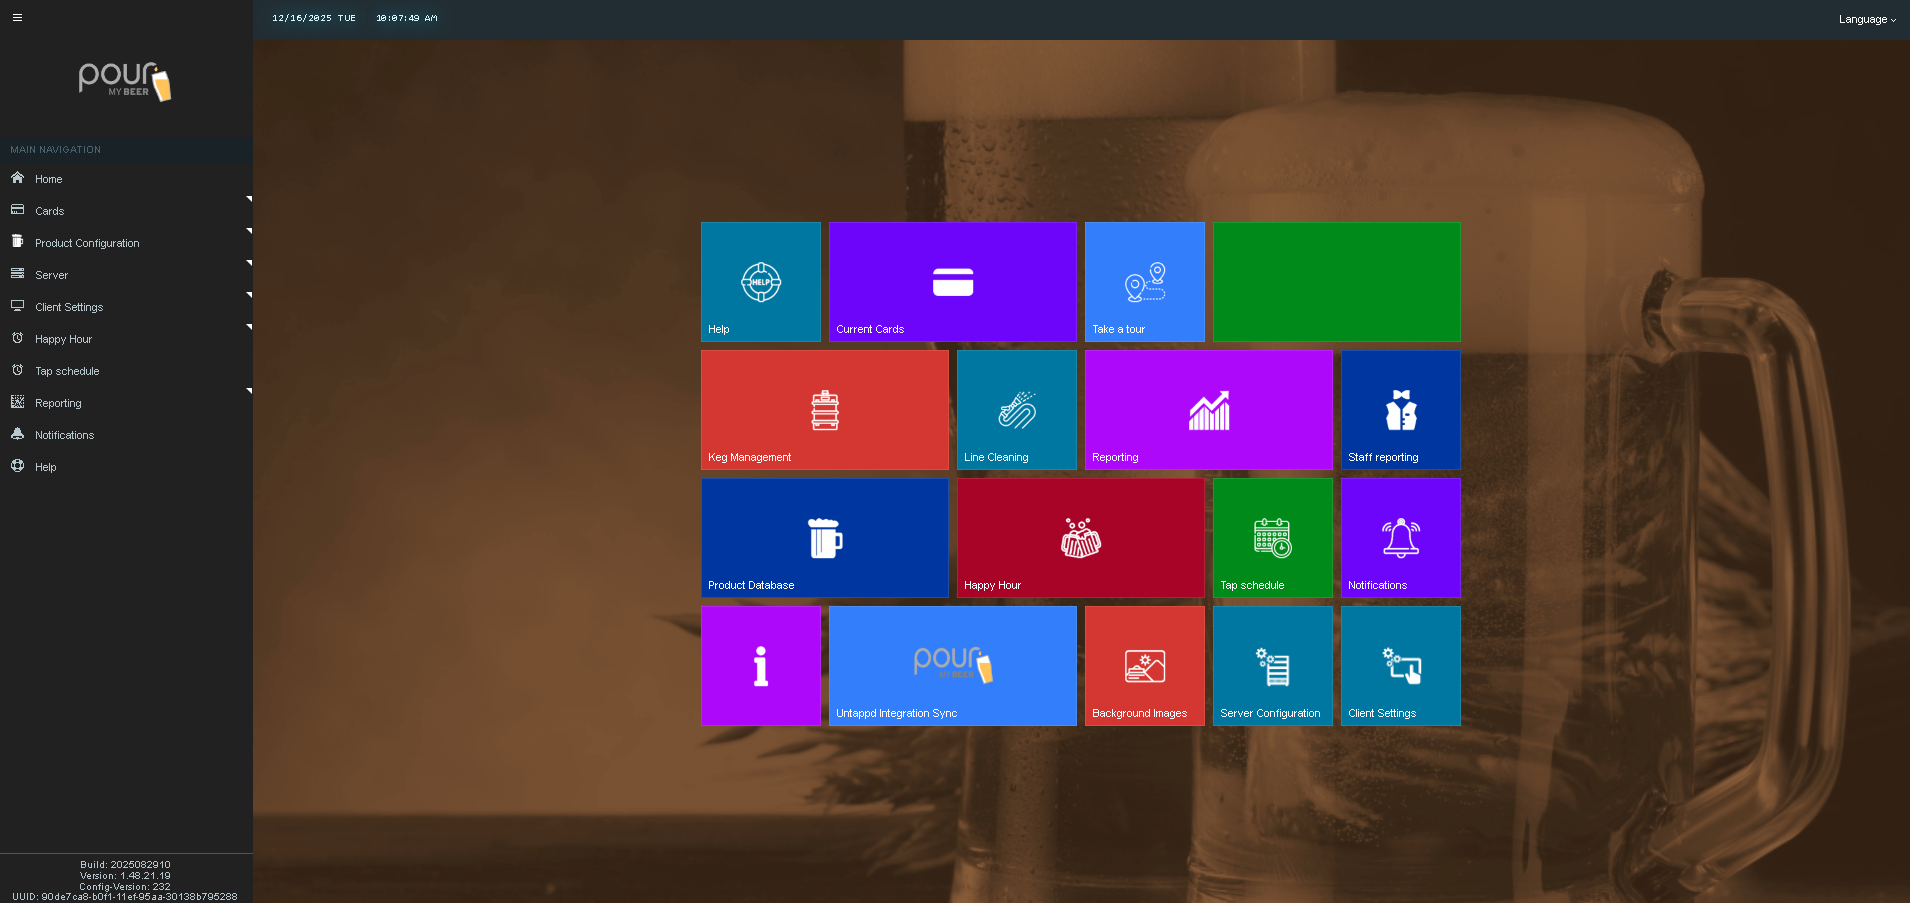
Step 1: Access the TTG Server Management Page
-
Open the Table Tap Go Server Management Page, or navigate to:
http://localhost:8585 -
Log in using your Admin credentials.
-
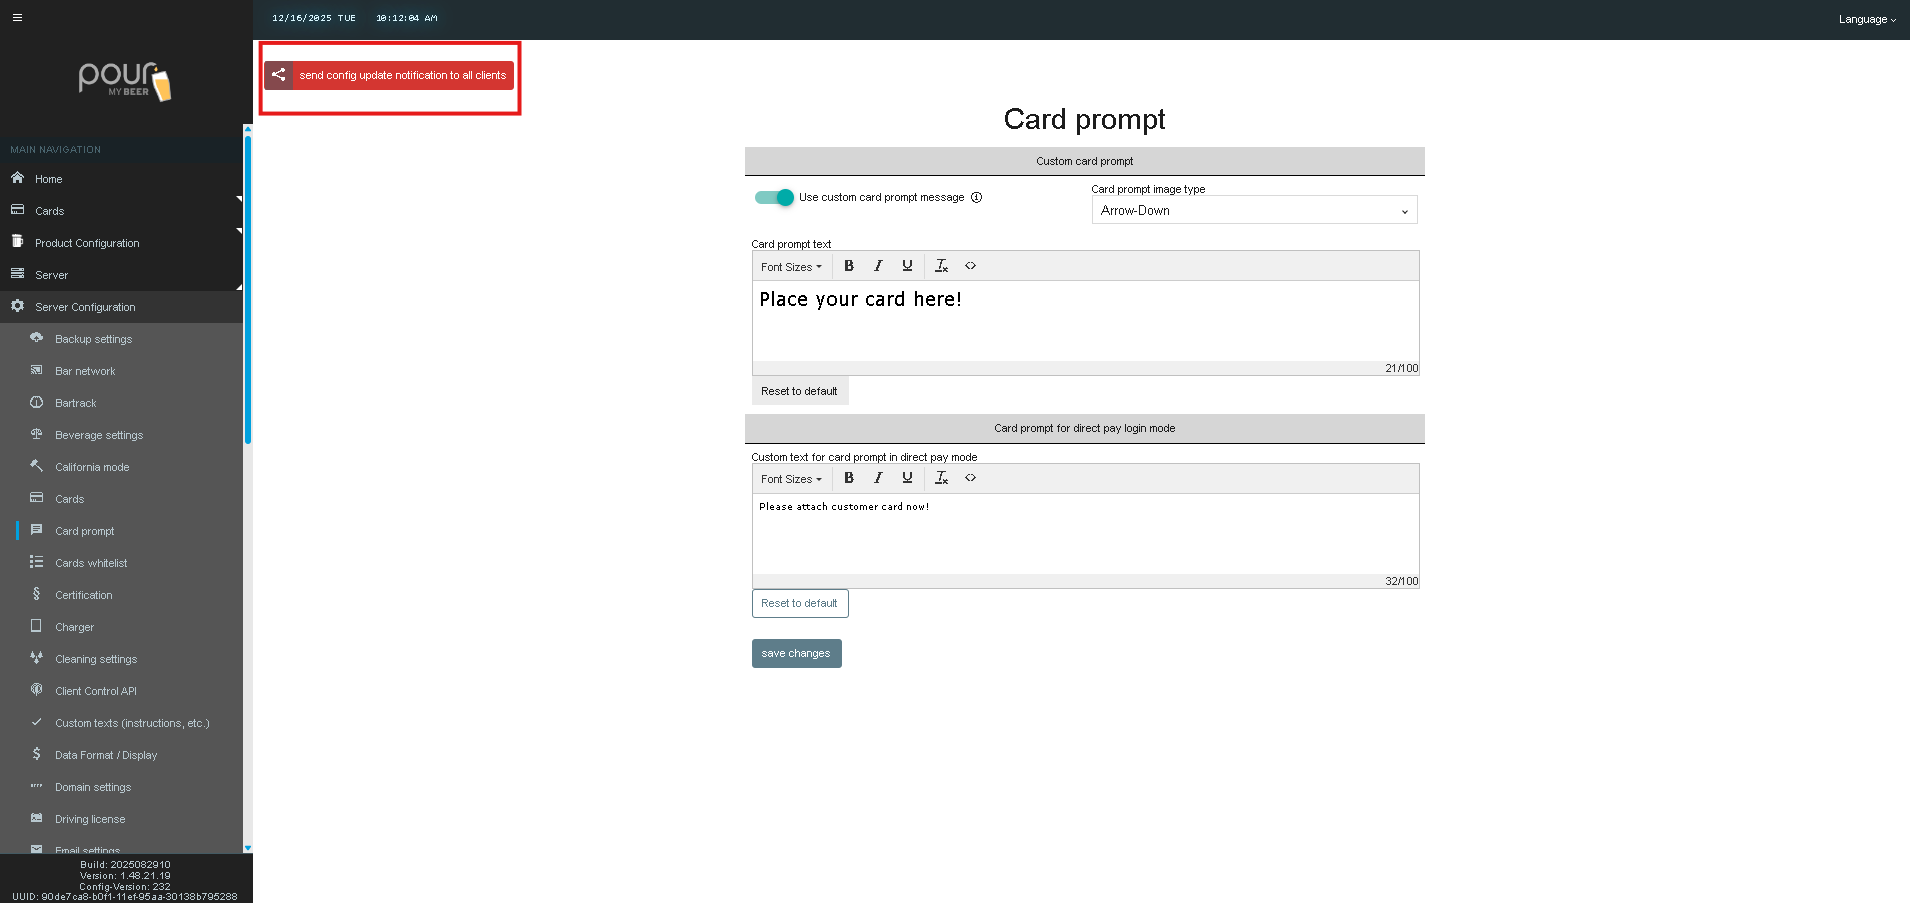
Click Server Configuration,

-
Then select Card Prompt from the left-hand menu.
Card Prompt Settings Overview
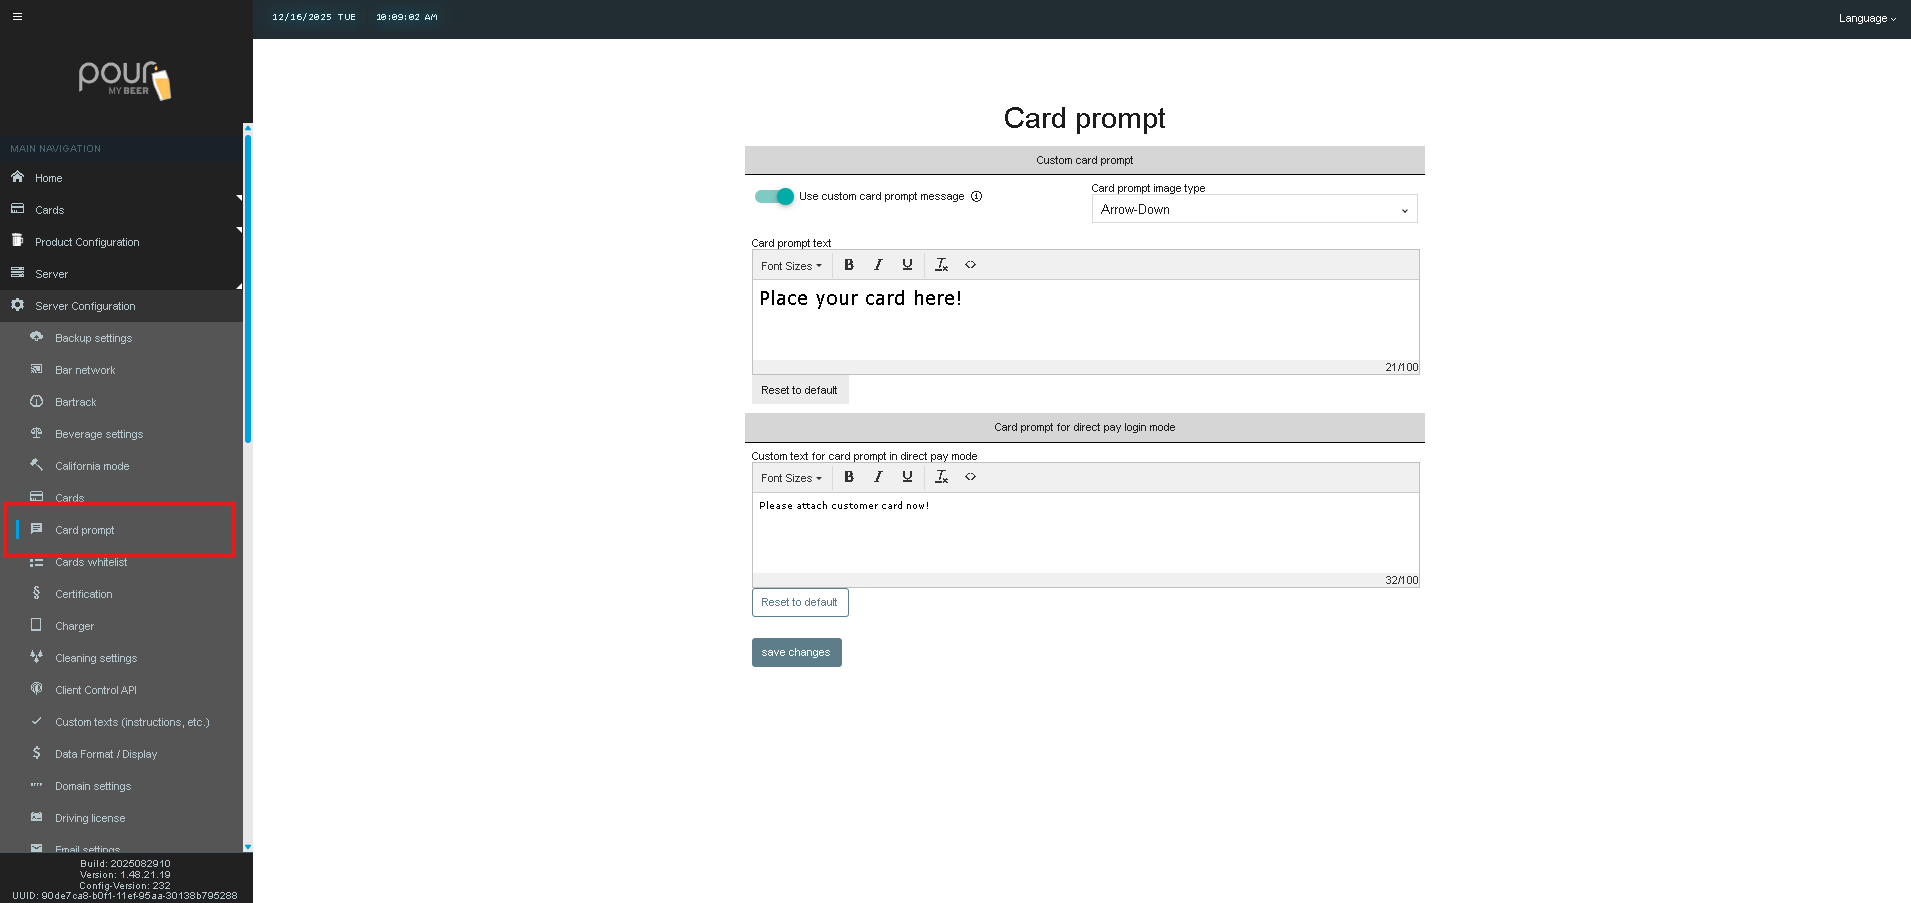
Use Custom Card Prompt Message
When enabled, this allows you to replace the default system message with your own custom text.
-
Toggle On to display custom messaging
-
Toggle Off to revert to the default TTG prompt
This setting is commonly enabled to better guide guests in self-pour environments.
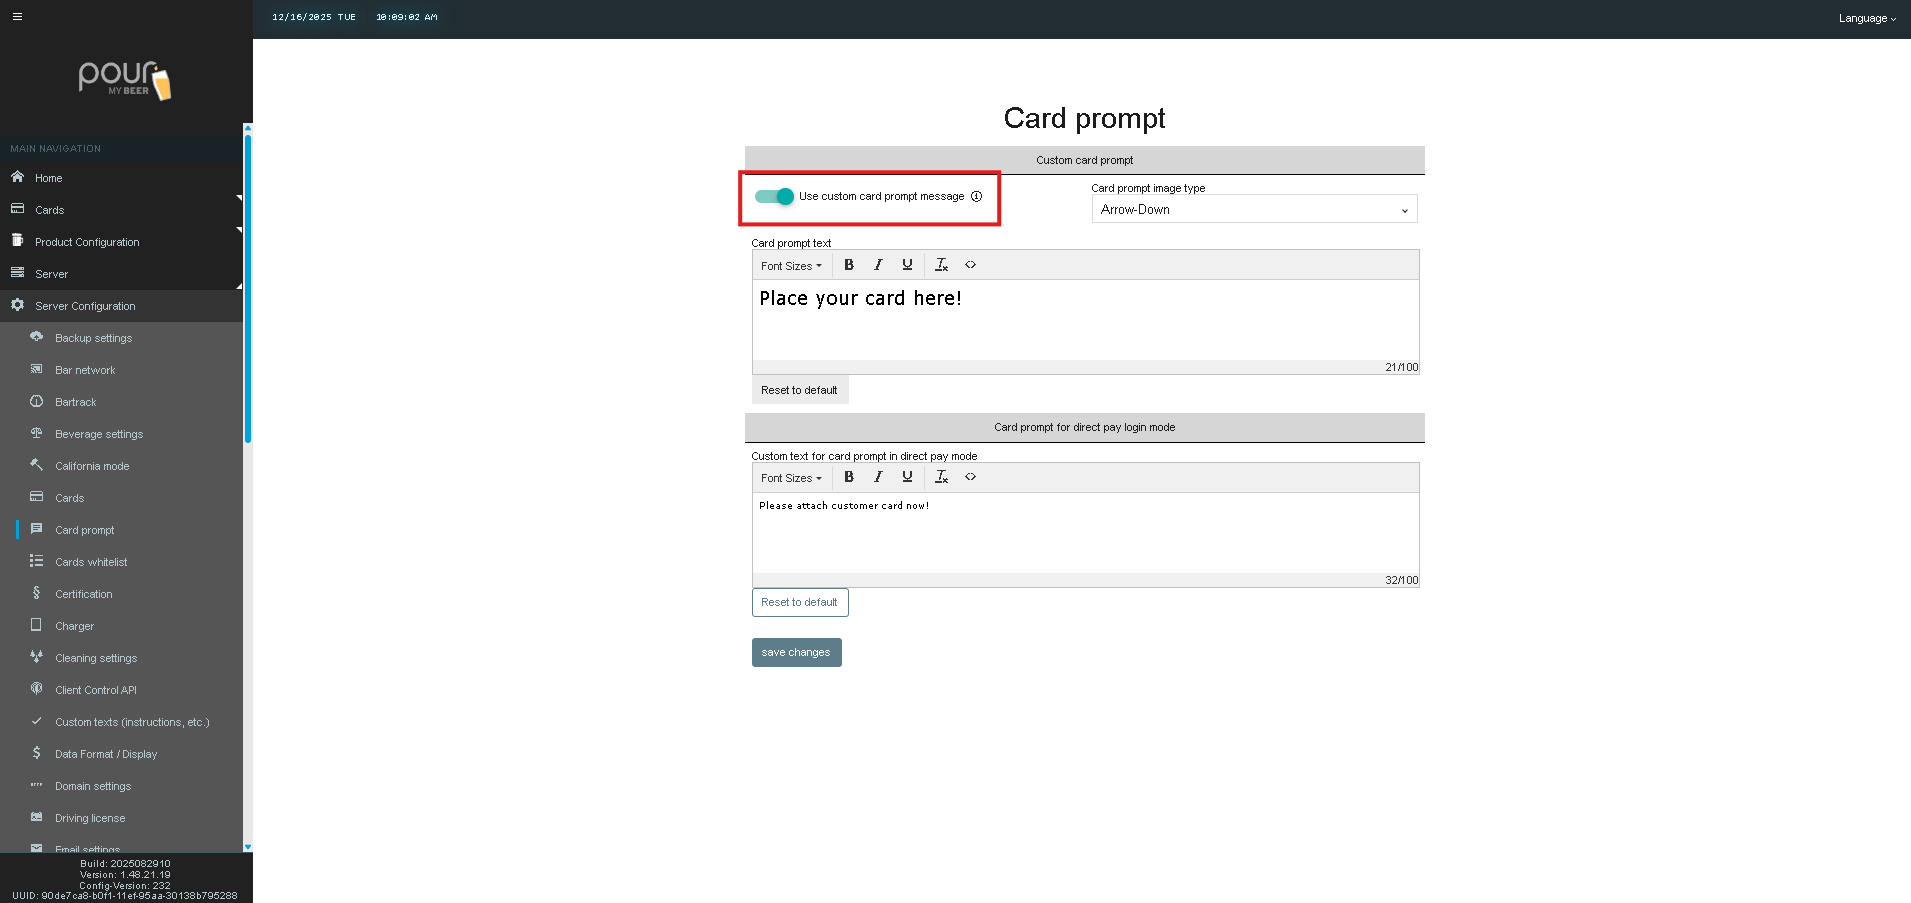
Card Prompt Image Type
Select the icon that appears with the card prompt message.
Available options may include:
-
Arrow Down (default)
-
RFID Hand
-
RFID Reader
-
None
The Arrow Down icon is recommended for most locations, as it clearly points customers toward the card reader.
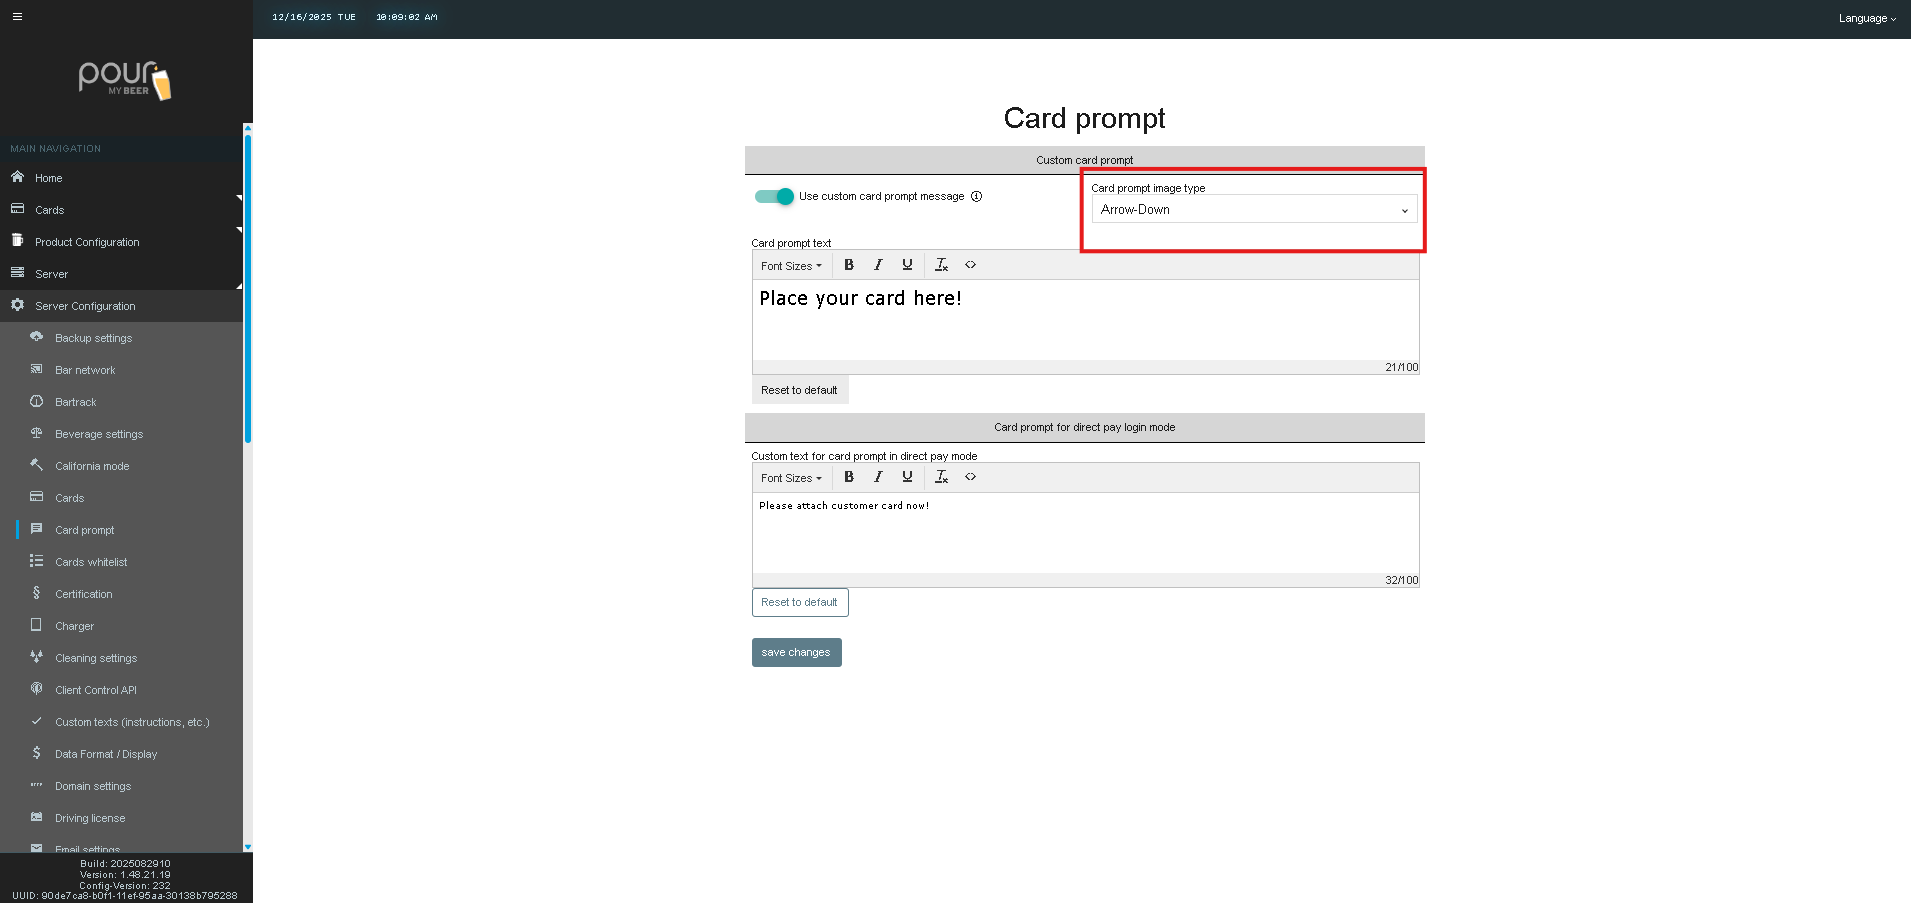
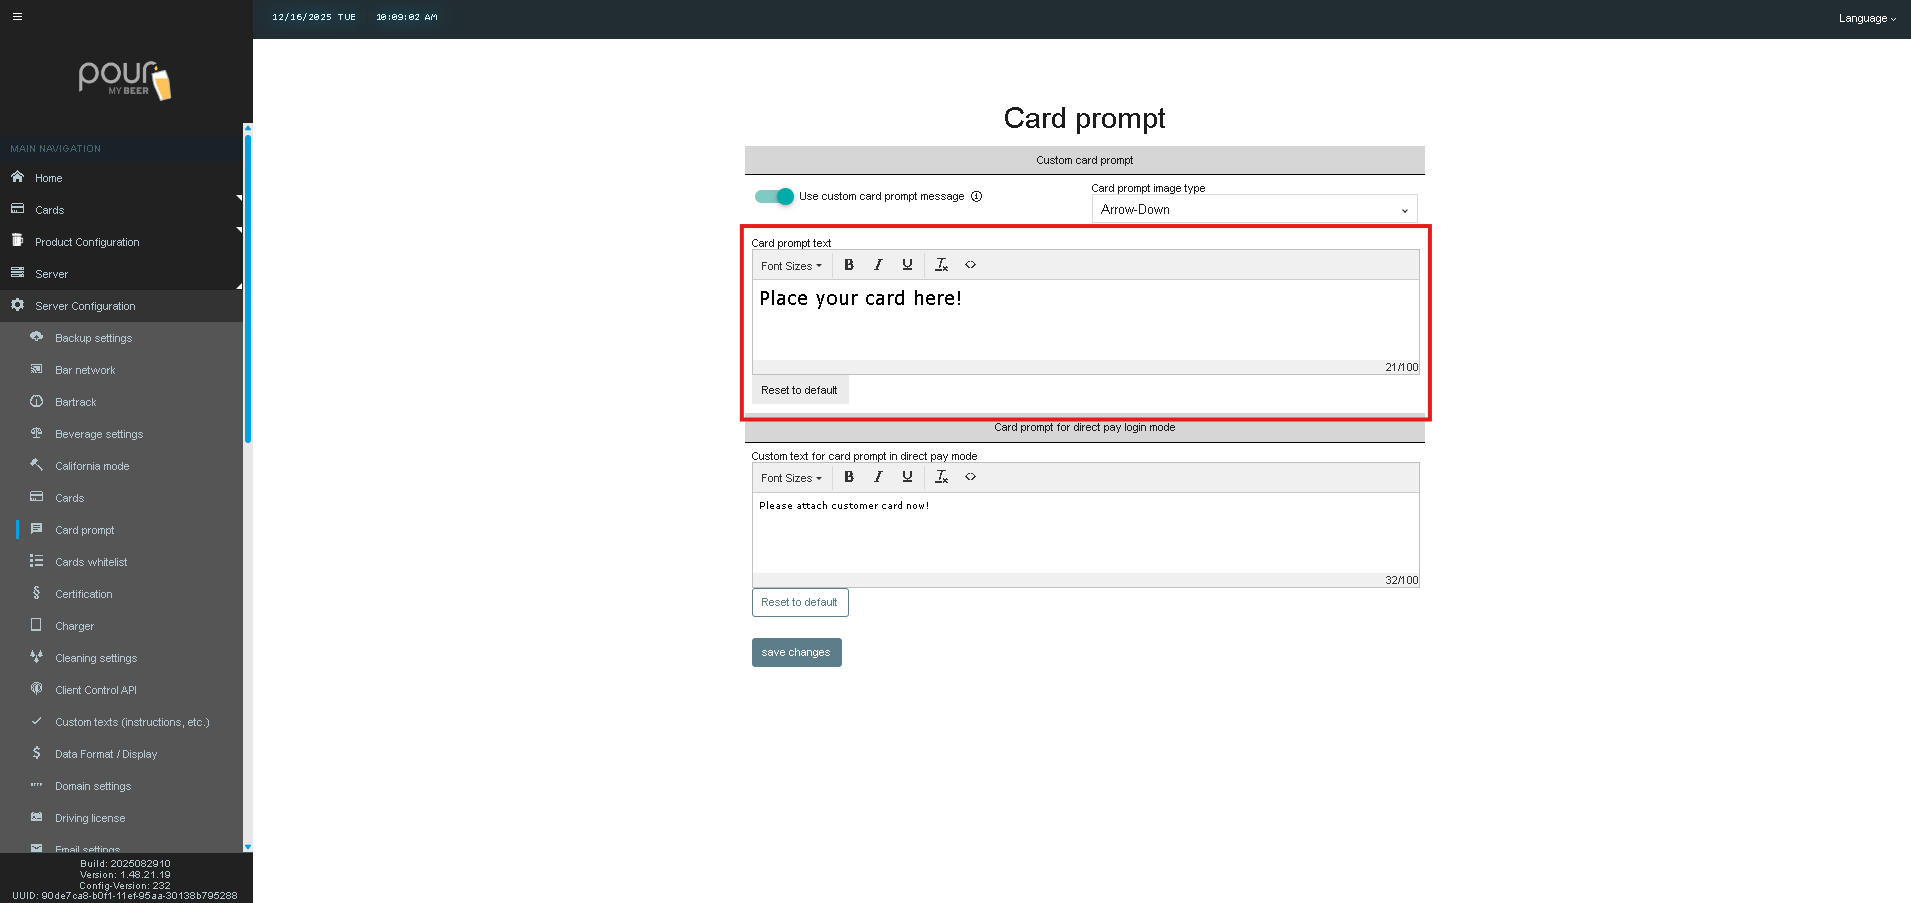
Card Prompt Text
This is the main message customers see when the system is waiting for a card.
Default example:
Place your card here!
You can:
-
Edit the text
-
Adjust font size
-
Use bold, italic, underline, or color formatting
A character counter helps ensure the text fits properly on all screen sizes.
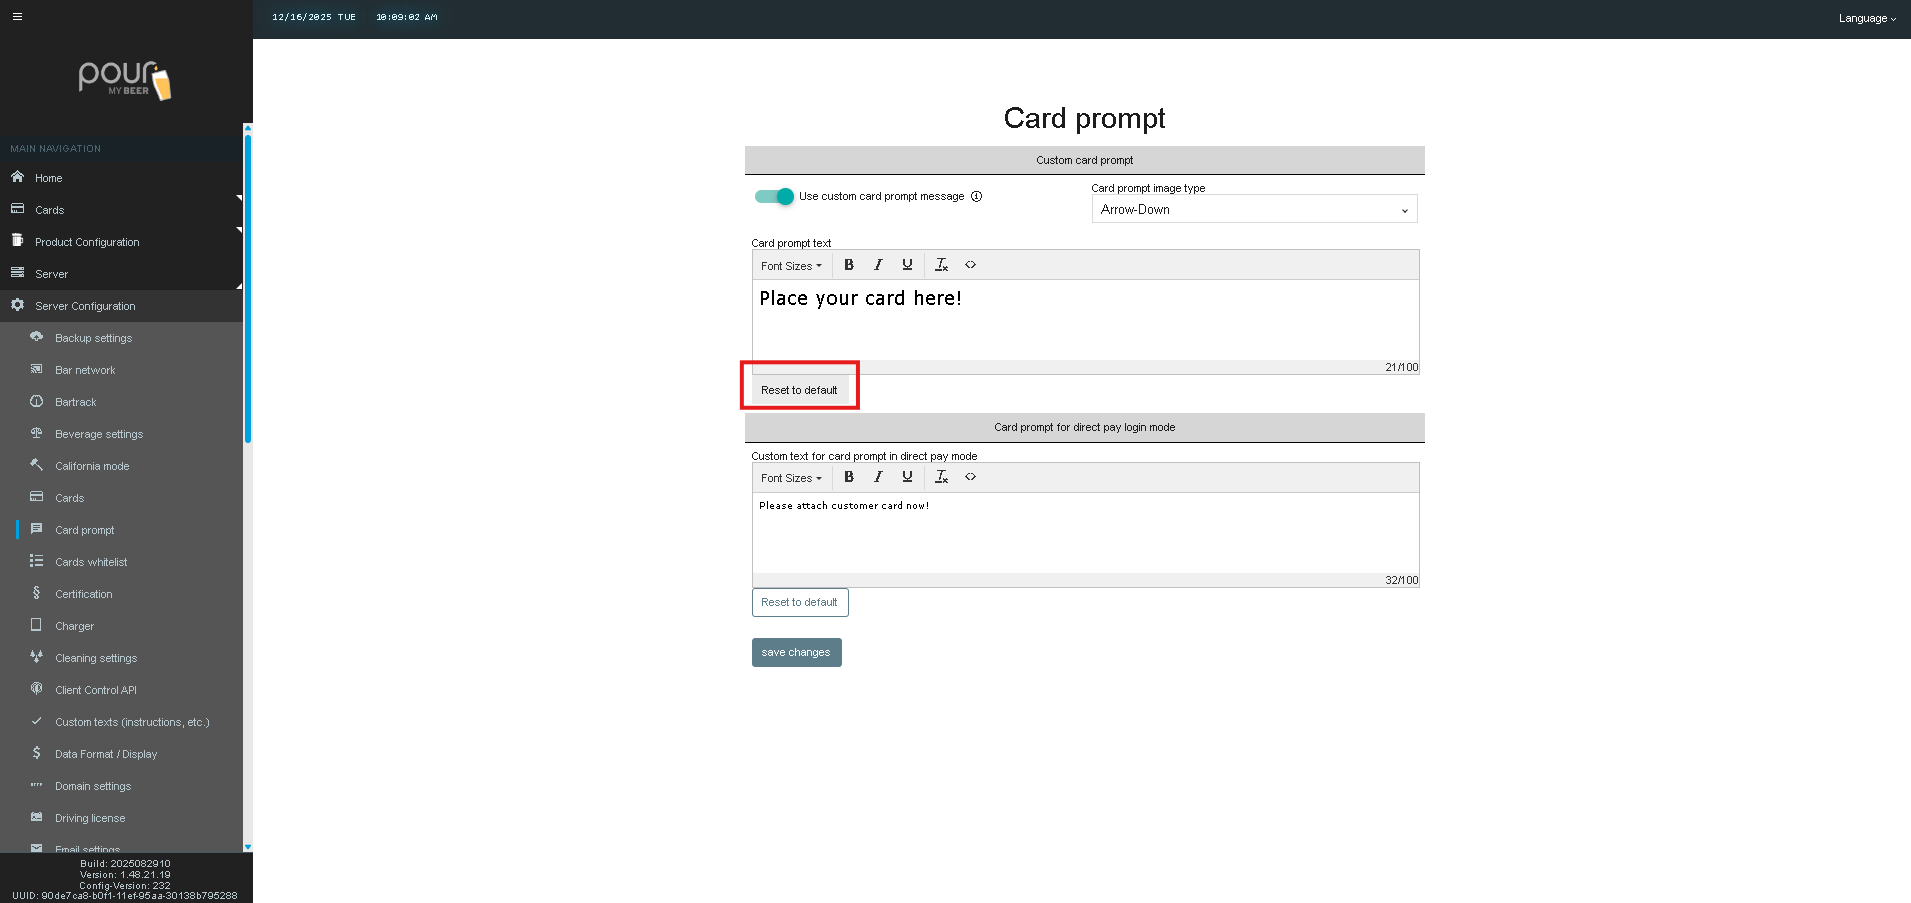
Reset to Default
Restores the system’s original card prompt text and formatting.
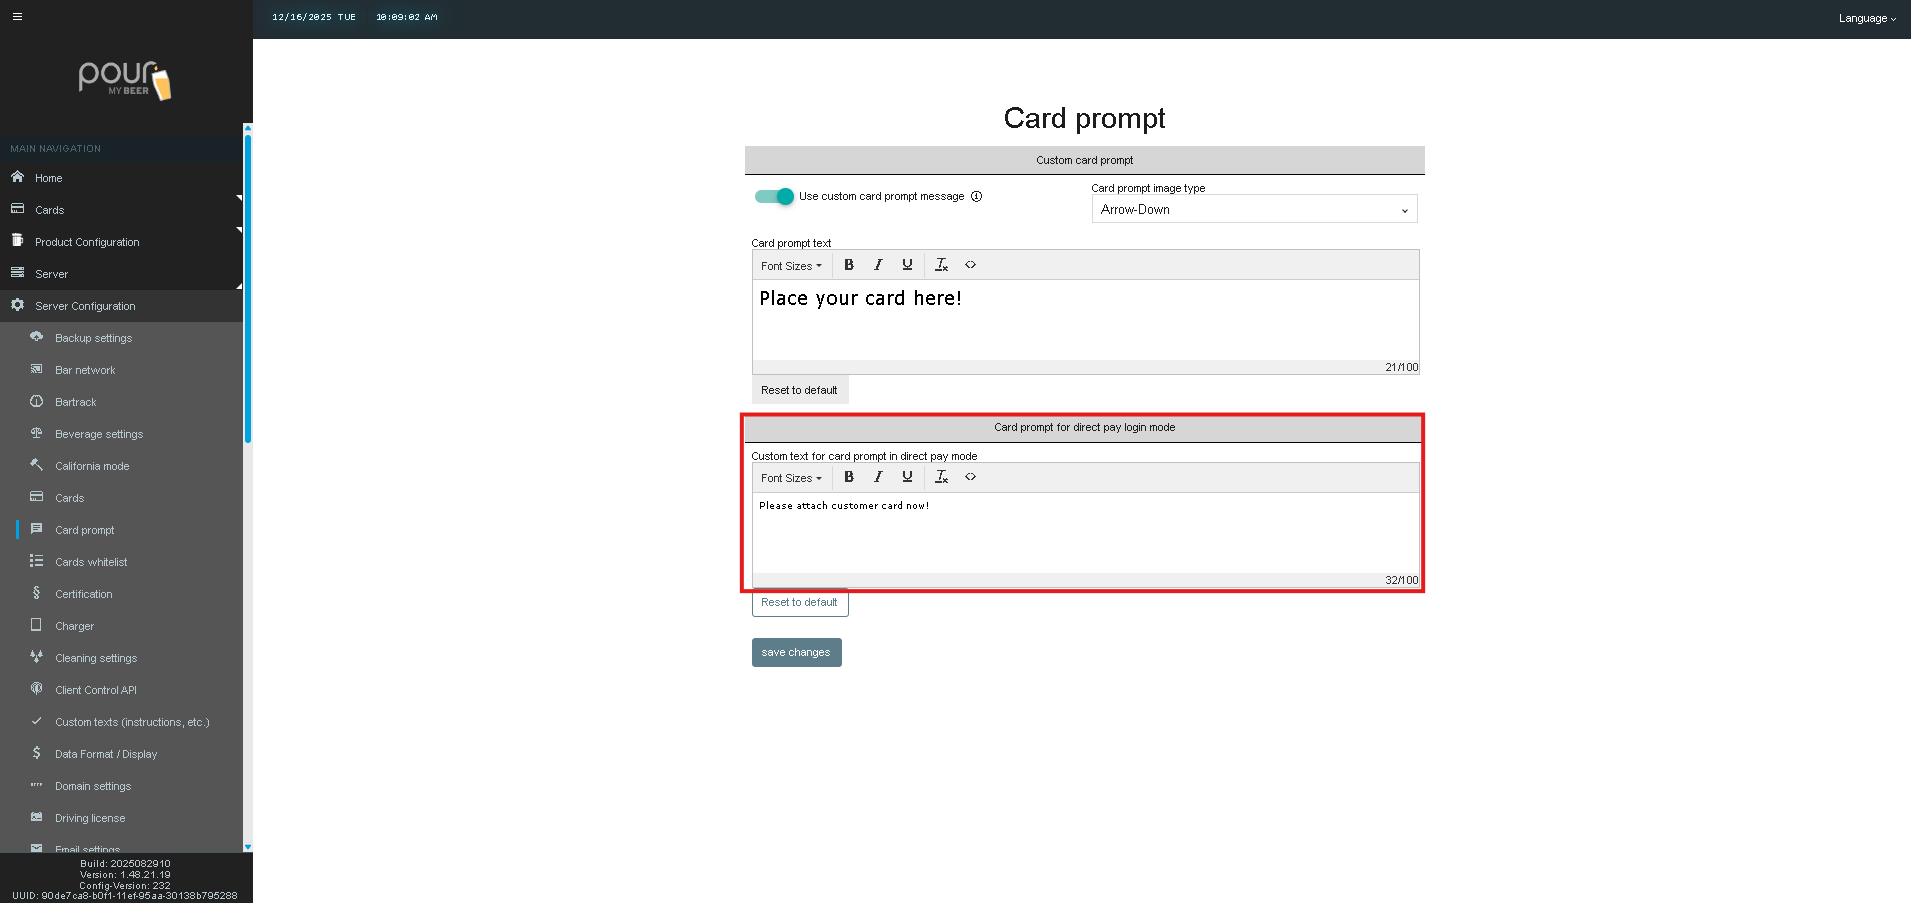
Card Prompt for Direct Pay Login Mode
If your system supports Direct Pay Login Mode, you will see an additional section:
Custom Text for Card Prompt in Direct Pay Mode
This message appears specifically when a customer must attach their card to continue with direct payment.
Example:
Please attach customer card now!
This text is separate from the standard card prompt and can be customized independently.
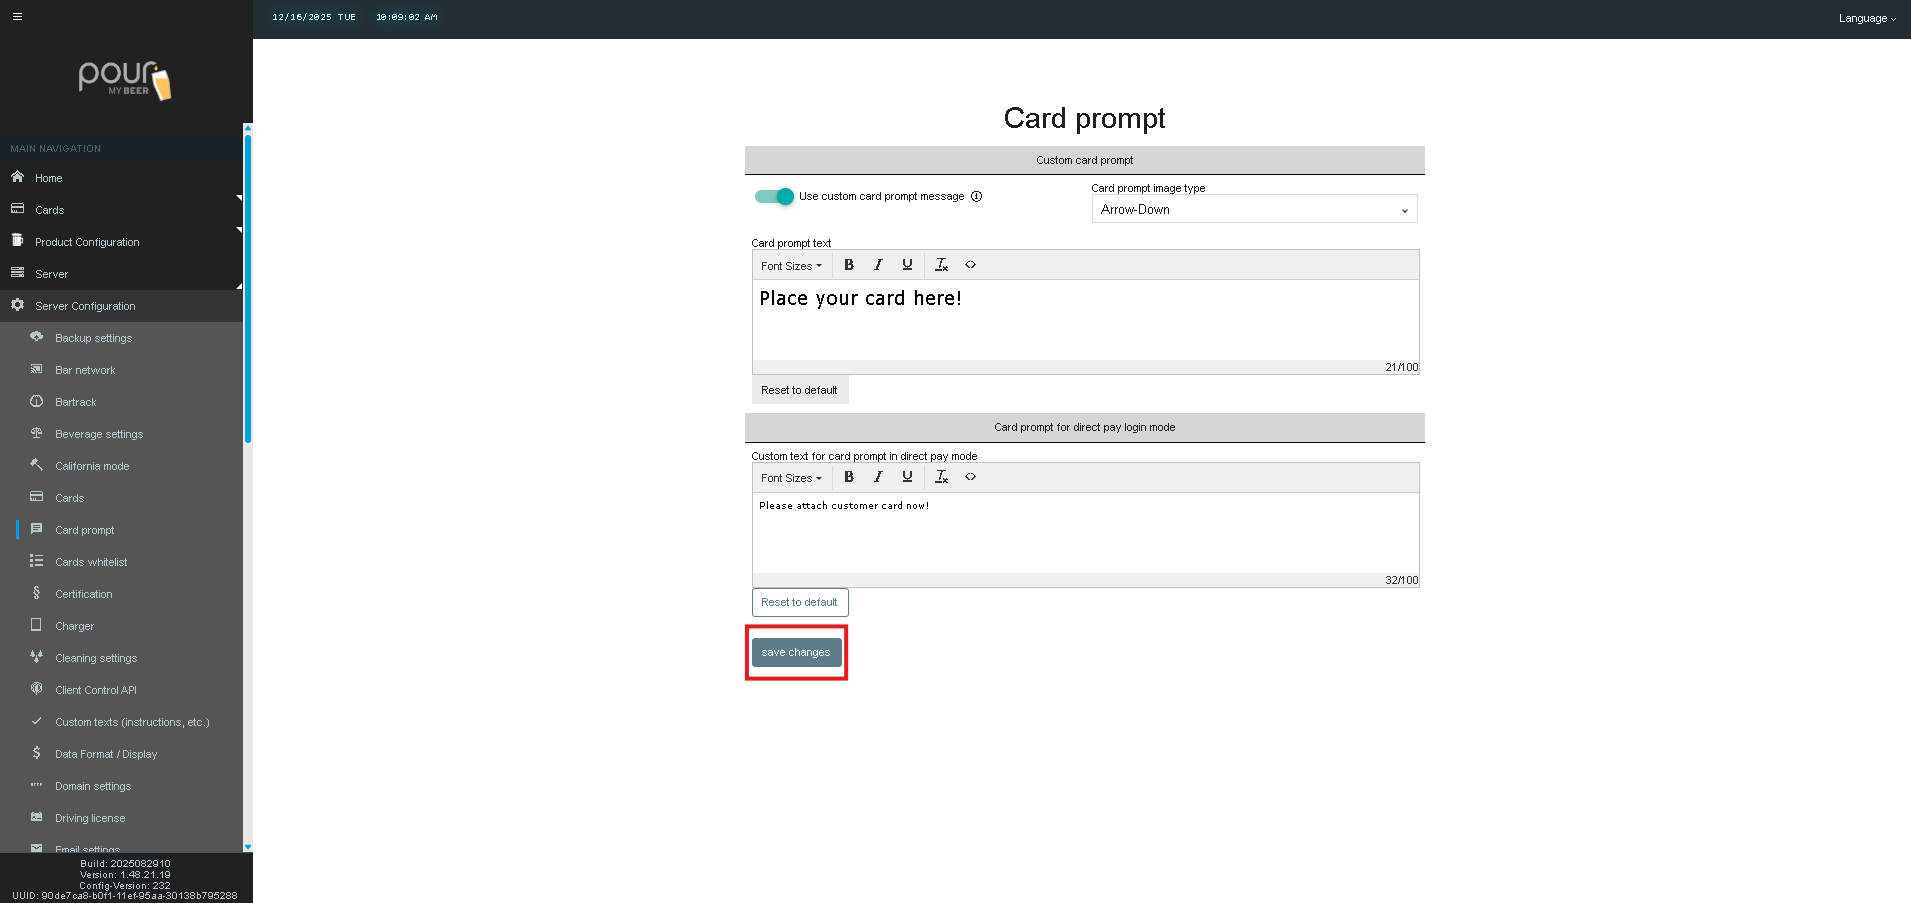
Step 2: Save and Apply Changes
After making updates:
-
Click Save Changes
-
Click Send Config Update Notification to All Clients
This ensures all tap screens receive the updated card prompt settings.
Step 3: Verify on a Tap Screen
-
Visit any tap screen
-
Confirm:
-
The custom text appears correctly
-
The selected icon displays as expected
-
Text size is readable on the screen
-
If changes do not appear, resend the configuration update.